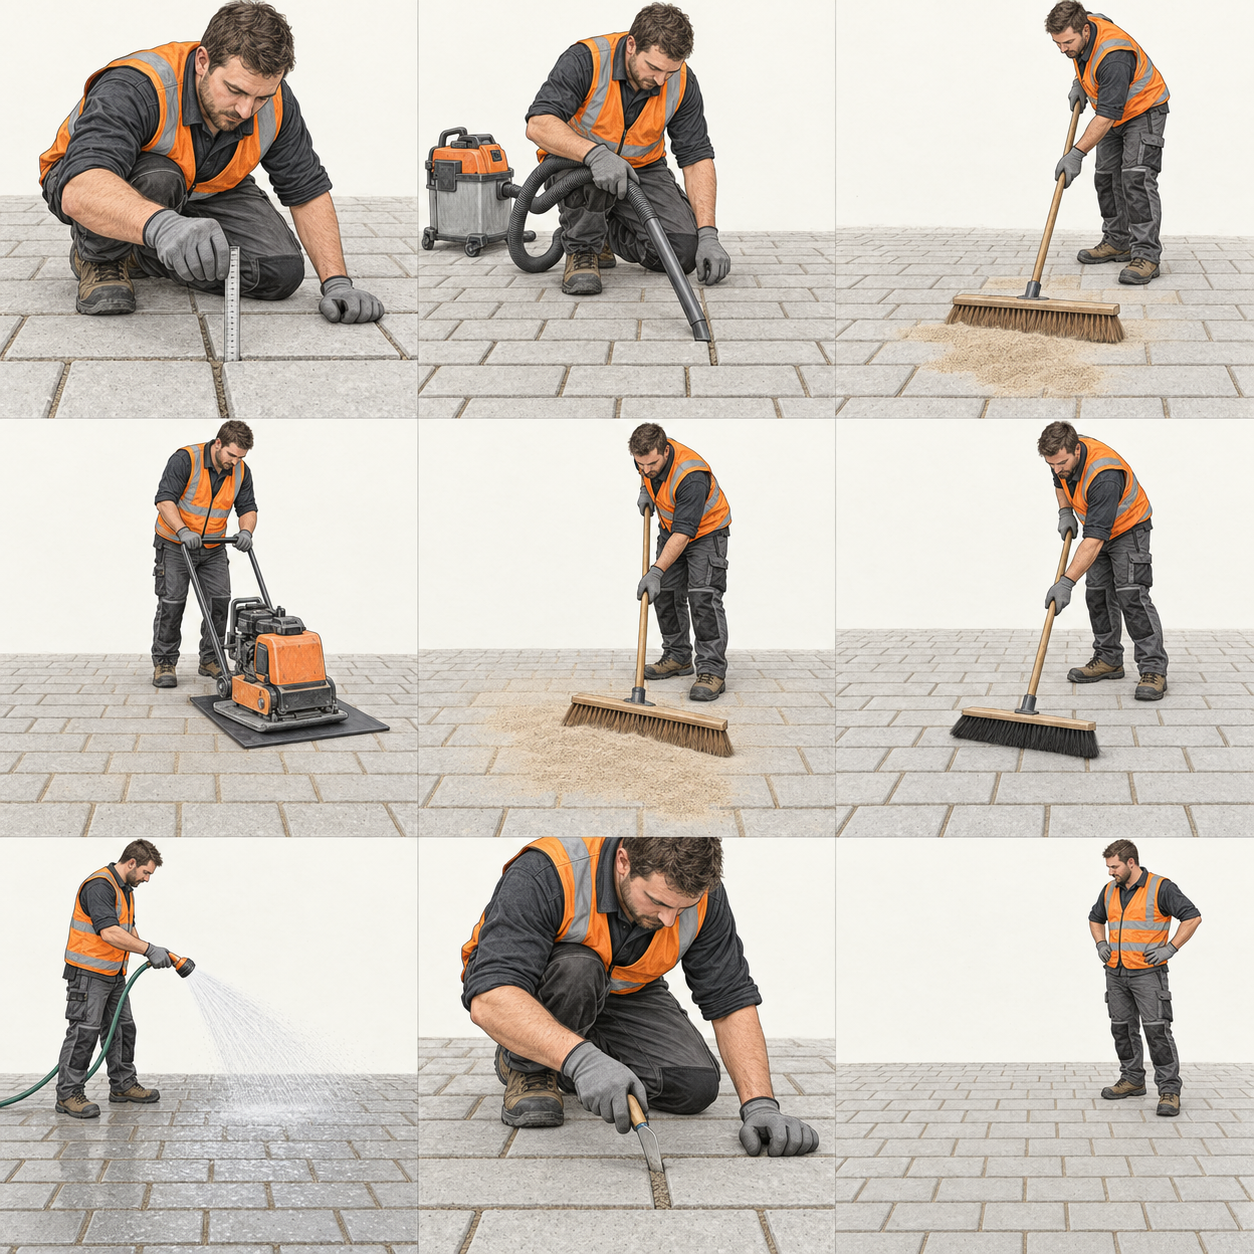
 01
01Check the joint depth
Check joint width and clear depth at several points. Joints must be at least 40 mm deep and at least 2 mm wide.
What matters
The required depth must be clear to receive the jointing material.
 The installation steps ↘
TERRABOND · INSTALLATION GUIDE
How to install TERRABOND: from checking the joints to the finished paved surface. Every step, clearly explained.
Before you start
Check air and surface temperatures. The construction must be permanently load-bearing, permeable and suitable for the expected load, with sufficient surface fall. For unbound construction only; not suitable for mortar-bedded paving, impermeable construction or continuously wet areas. No intensive mechanical cleaning. Check suitability on a test area and follow the paving manufacturer’s instructions. Two frost-free days are required after installation. Use personal protective equipment as specified in the safety instructions on the container.
Choose the appropriate grade: HPF 701 for joint widths of 2–12 mm, HPF 705 for 8–30 mm, HPF 725 from 12 mm. Source: technical data sheet 01/2026.
01 — 09
Follow this sequence. Every step matters.
01Check joint width and clear depth at several points. Joints must be at least 40 mm deep and at least 2 mm wide.
The required depth must be clear to receive the jointing material.
02Remove old joint material with oil-free compressed air or by scraping and vacuuming to a depth of at least 4 cm. Deeper joints may be prefilled with suitable drainage material. Remove staining and dirt beforehand with appropriate cleaners.
Paving surfaces and joint sides must remain dry before and during dry installation.
03Spread the ready-to-use material directly from its container onto the dry surface and sweep it into the joints.
Do not add water yet. Moisture activates the binder and can leave residue on the paving.
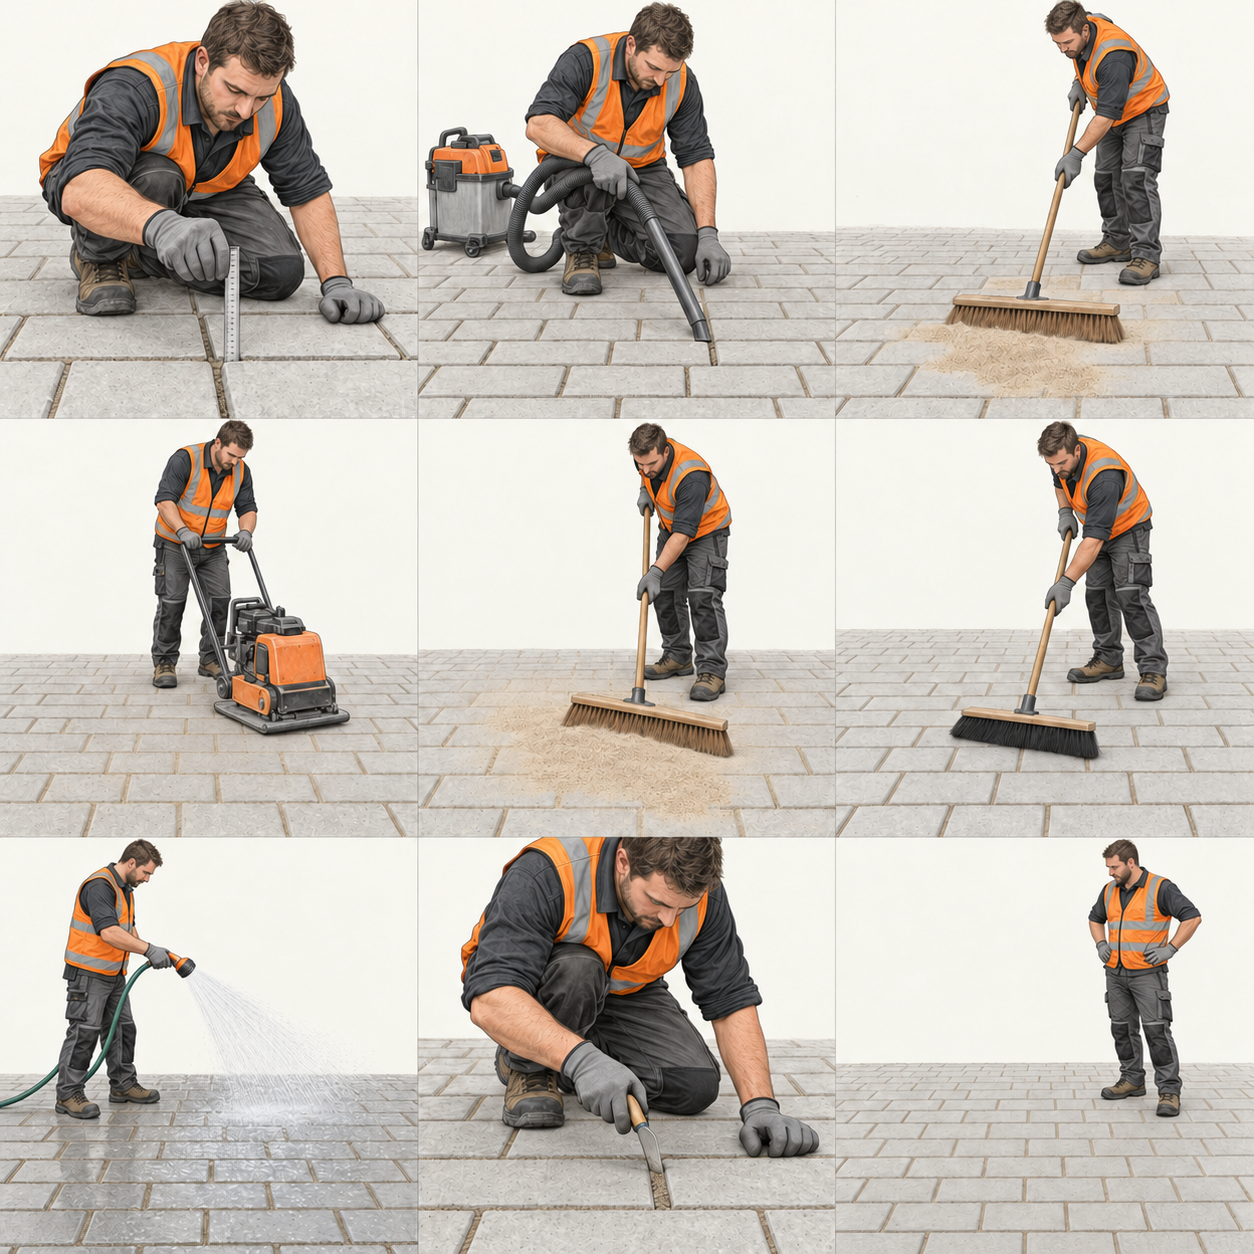 04
04Sweep the surface clean and compact with a small vibrating plate (80–120 kg) fitted with an attached, flush-fitting protective mat. For paving slabs, select the appropriate compaction method; see the guidance below.
Finger test: the material must no longer yield under pressure.
05Sweep in more TERRABOND to the required level and compact again. Fill to no more than 2 mm below the top of the paving; for chamfered edges, fill to the bottom of the chamfer.
Check the fill level and compaction.
06Remove all material residue from the paving with a soft, clean, dry broom. A leaf blower may also be used carefully on rough surfaces.
The paving surface must be clean before watering.
07Start at the lowest point. Thoroughly water small sections with clean water and a gentle shower spray. Repeat until the material is saturated throughout its full depth. Do not flood the surface or allow it to dry out completely between passes.
Do not wash material out of the joints. Remove puddles and residue with a sponge, rubber squeegee or leaf blower. If foaming occurs, reduce the pressure and finish by rinsing thoroughly without pressure.
08Use a spatula or similar tool at several points to check that the joint material is wet throughout its full depth. Continue watering gently if needed.
A wet surface alone is not enough. Rinse away residue before it dries and forms a hard-to-remove haze.
09TERRABOND must dry completely for optimum curing. This can take several days depending on the weather. Do not cover in dry weather. Keep off the surface for the first three hours and protect it from rain if necessary.
Rain-resistant and walkable after 3 hours. Vehicle traffic after approximately three days, depending on weather and temperature.
Compact slabs thoroughly using a suitable roller compactor or, on small areas, a rubber mallet. Where vibration compaction is not possible, installation can be carried out in two layers: replenish material that has settled after watering only once the surface is completely dry, then water again. For large slabs with narrow joints, use a pressure sprayer to apply water directly to the joints.
Clean only after the material has fully cured. For pressure washing, use a maximum of 80 bar, a fan nozzle and a distance of at least 30 cm; no rotary nozzle. Once dry, replenish missing joint material, compact again and fully saturate with water. Sweeping in alone is not sufficient.
TERRABOND
This guide is based on the technical data sheet for TERRABOND HPF 701 / 705 / 725, dated January 2026. It contains the complete installation instructions and technical data. The linked original is in German.
Images illustrate the process. Refer to the text and technical documentation for dimensions and installation details.