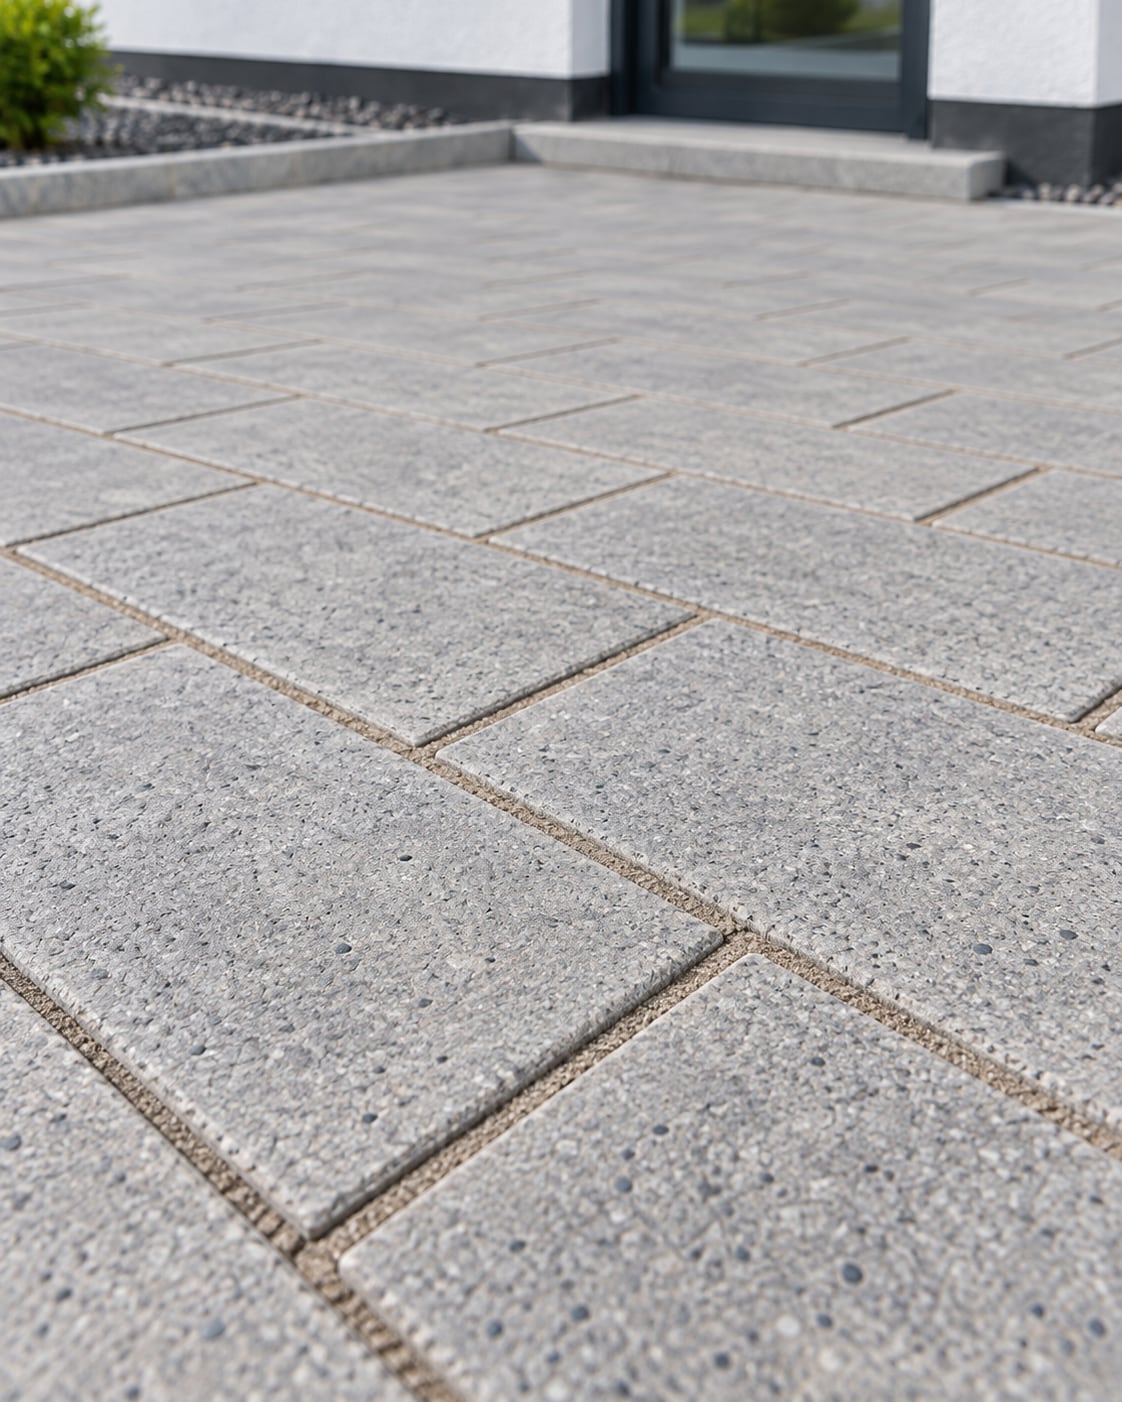
Installation

Installation step by step.

Prerequisites, preparation and workmanship determine the quality of the finished joint. The technical data sheet and installation instructions govern installation.

Product description
and information.

TERRABOND is formulated for low dust and is therefore easy and clean to install. This makes residue-free cleaning considerably easier, even on rough paving surfaces.

TERRABOND produces a stable joint, but it is not comparable to a mortar joint.

TERRABOND sets flexibly and is therefore suitable for jointing paving and slabs with unbound construction.

The pavement construction must be designed for the actual loads, remain load-bearing and water-permeable, and provide sufficient surface fall.

Current accepted practice in paving construction and the paving manufacturer’s instructions must be observed.

On previously jointed surfaces, clear the joints to a depth of at least 4 cm using oil-free compressed air or by scraping and vacuuming.

Joints deeper than 4 cm may be pre-filled with a suitable free-draining material.

Remove dirt or discolouration from the paving surface with suitable cleaning products before jointing.

Always create a test area to verify suitability for the specific project.

TERRABOND is not suitable for impermeable construction, paving laid in mortar or areas exposed to permanent wet conditions.

Depending on the paving, use and cleaning, wear or voids may develop over time. These can be repaired with little effort, even after years.

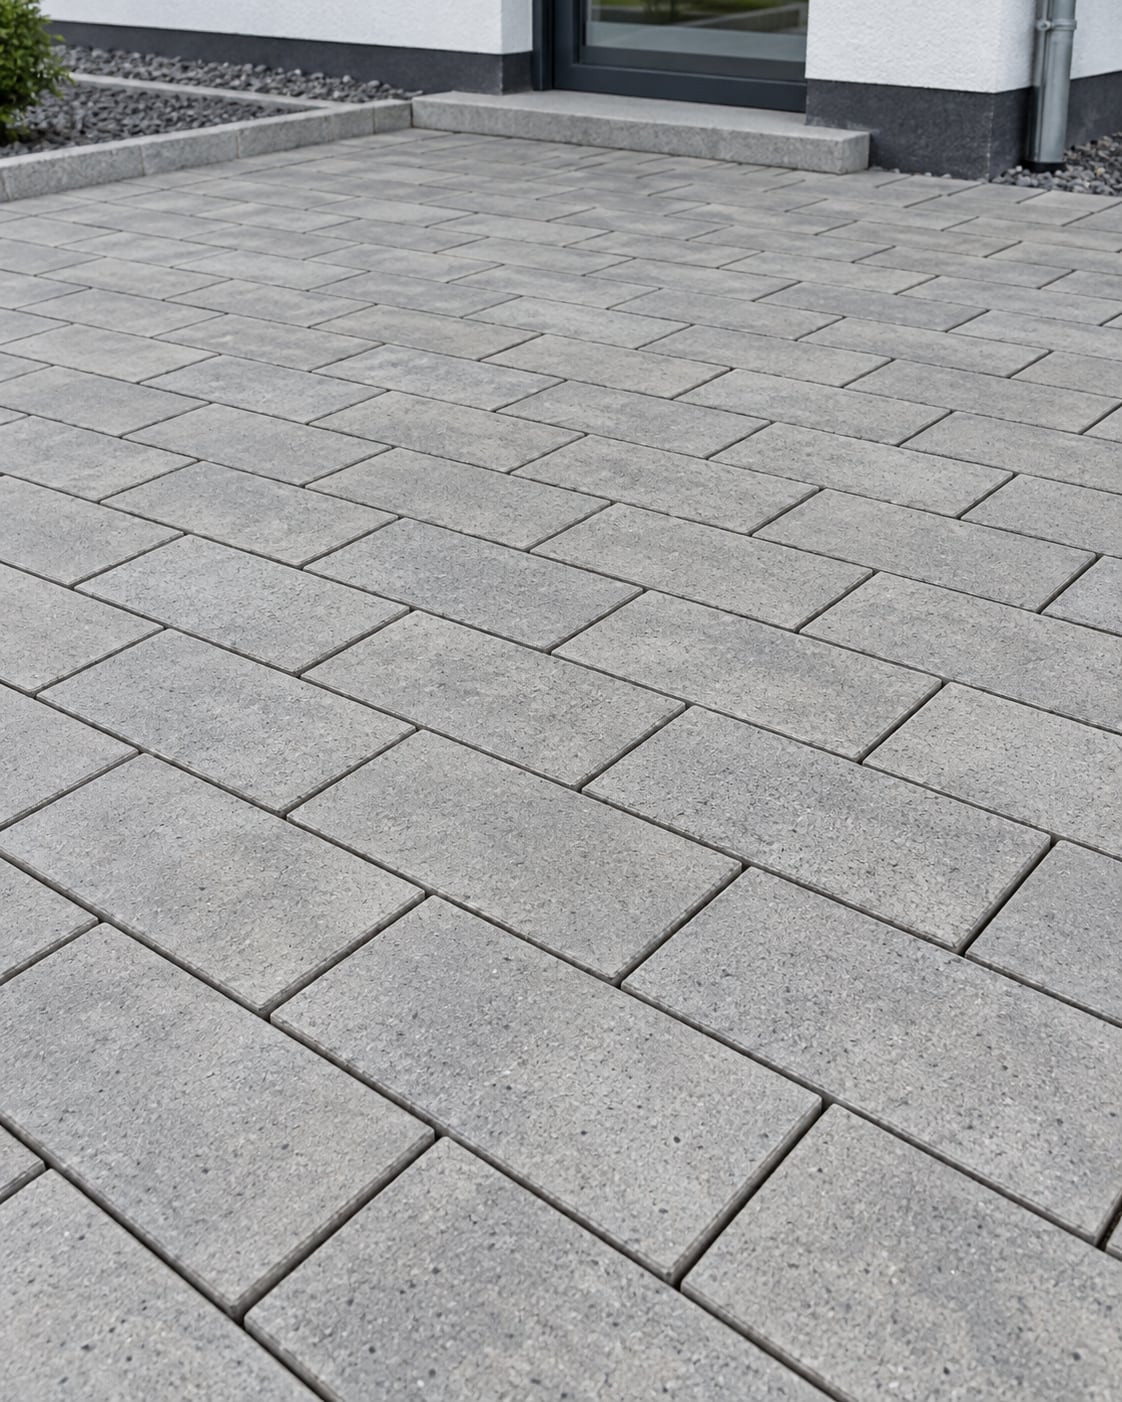
Before installation

Prerequisites.

  • 01

    Air and surface temperature at least +8 °C; dry weather

  • 02

    Joint widths from 2 mm; joint depth at least 40 mm

  • 03

    Unbound, free-draining construction

  • 04

    Use categories N1 to N3 under ZTV-Wegebau

  • 05

    Public areas: up to load class BK 1.8 under RStO 12

  • 06

    No permanent wet exposure

  • 07

    No intensive mechanical cleaning

Installation
in six steps.

Complete every step in the stated sequence.

01

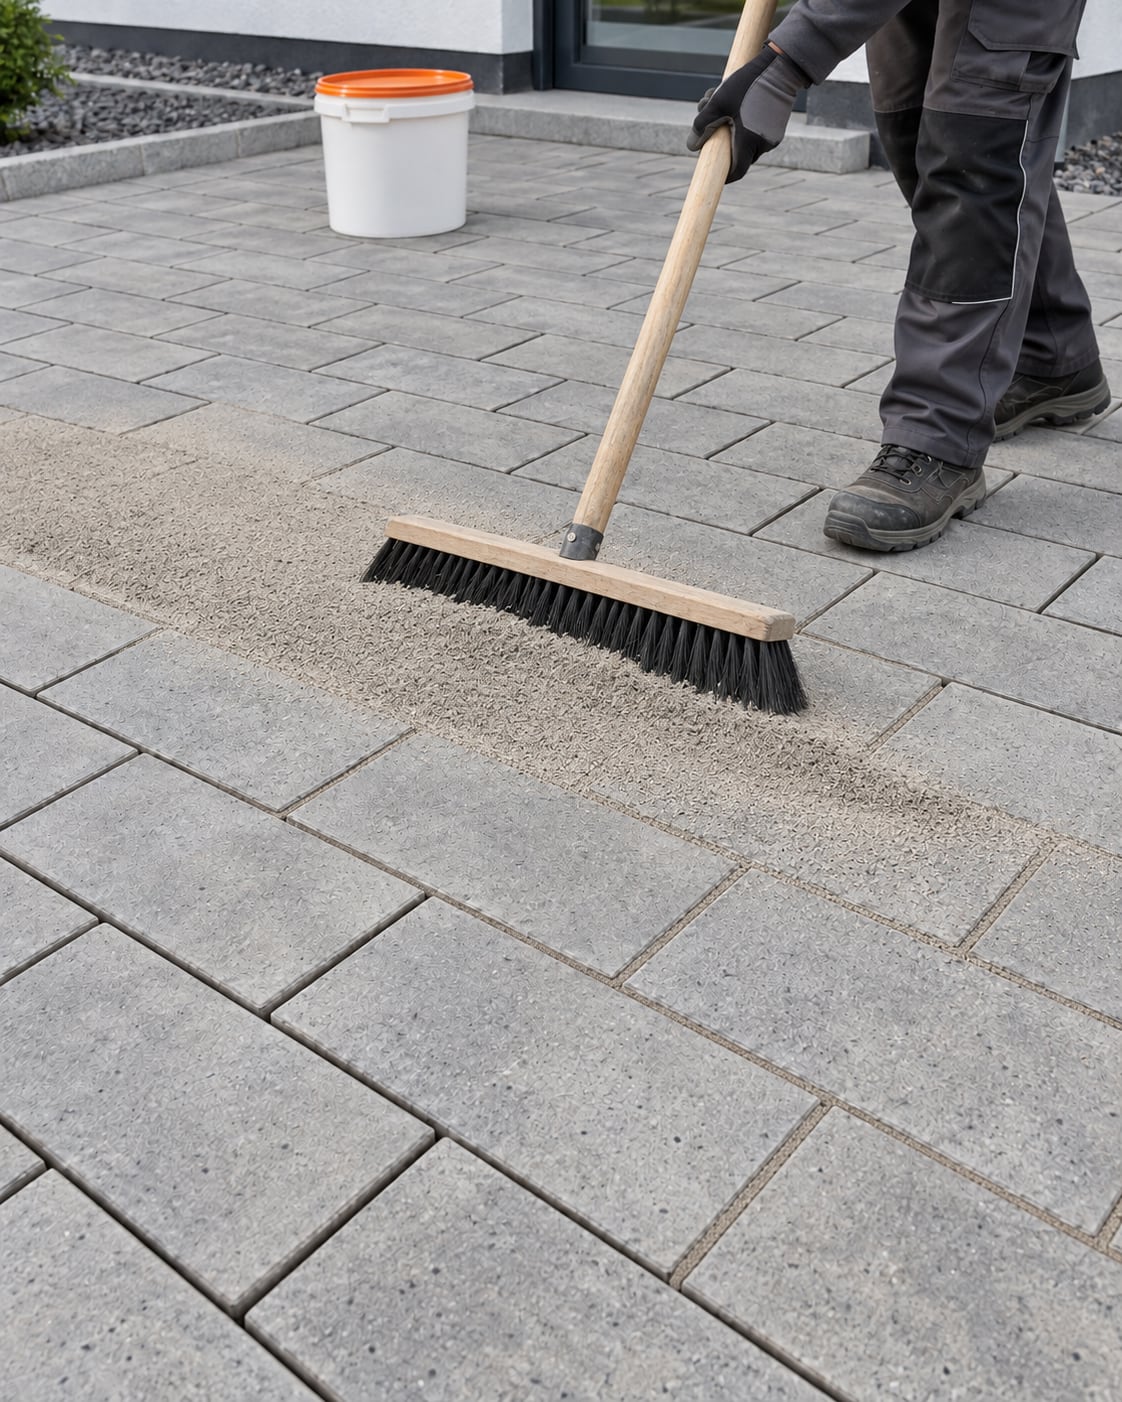
Sweep in the dry material

The surface and sides of the paving units must be dry before and during installation.

Moisture immediately activates the binder, which may leave residue on the paving surface. Residual moisture can be dried before jointing, for example with a gas burner.

TERRABOND is supplied ready to use. Spread it directly from the container over the surface and sweep it into the joints.

02

Compact the material evenly

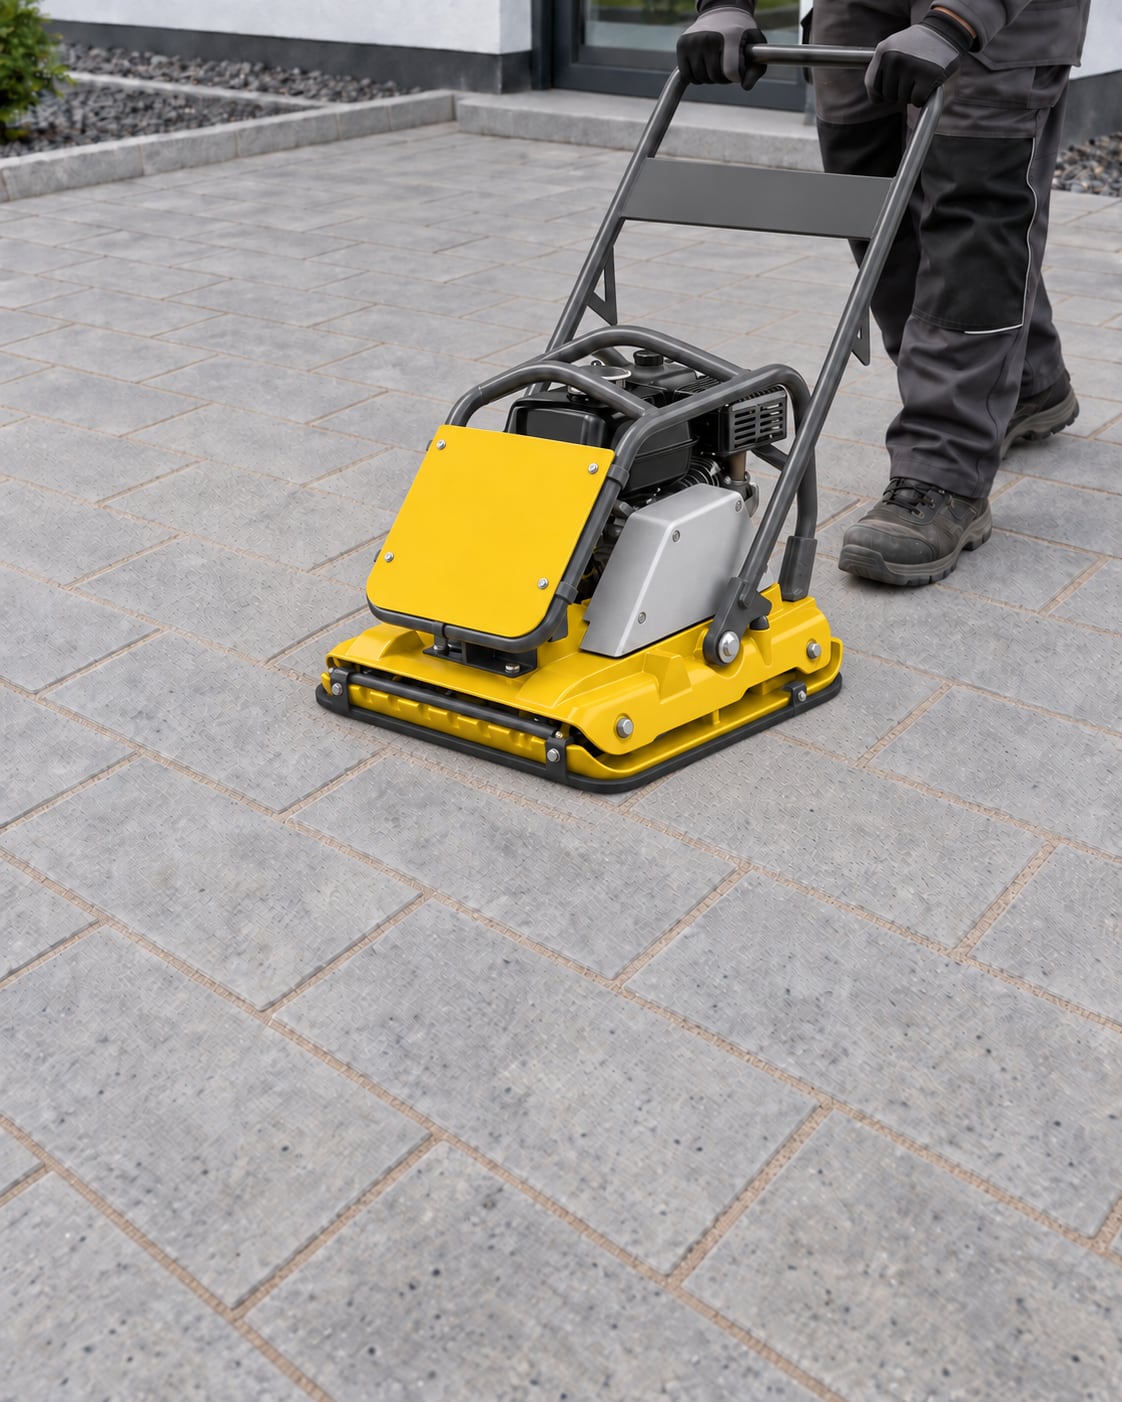
Sweep the surface and compact with a small plate compactor (80–120 kg) fitted with a protective mat. Thoroughly compact slabs with a roller compactor*, or small areas with a rubber mallet.

Carry out this step carefully to produce a stable and durable joint. Check compaction with the finger test: the material must no longer yield.

03

Top up the joints

Sweep in and compact more TERRABOND to the required fill level. Fill the joints to a maximum of 2 mm below the paving surface, or to the lower edge of the chamfer on chamfered units.

04

Sweep the surface clean

Use a soft, clean and dry broom to remove all residue from the paving surface.

On rough surfaces in particular, a leaf blower may also be used carefully for final cleaning.

05

Activate the binder

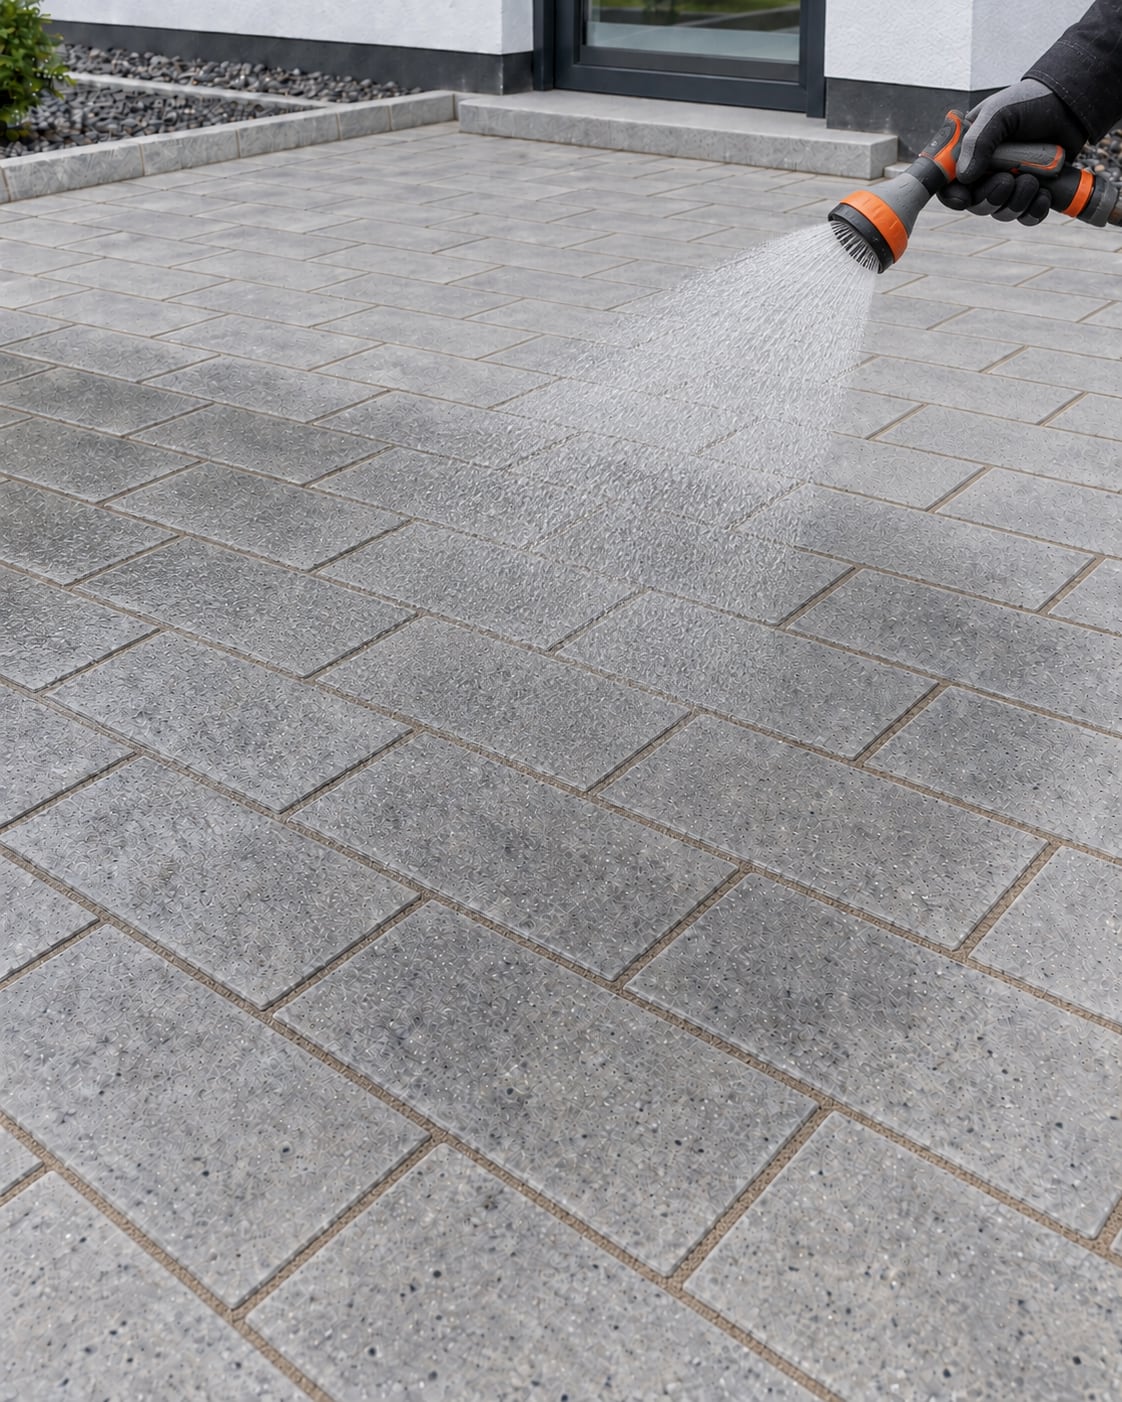
Working in small sections and starting at the lowest point, spray the surface evenly and generously with clean water through an adjustable nozzle set to a soft shower pattern. Do not wash material out of the joints.

Repeat several times until the jointing material is saturated throughout its full depth. Do not flood the surface or allow it to dry between passes.

Use a spatula or similar tool to check at several points that the material is fully wetted.

If necessary, rinse remaining material from the paving surface into the joints or beyond the edge of the area.

Avoid puddles. Remove standing water or material residue with a sponge, squeegee or leaf blower.

If foam forms, reduce the water pressure and finish by rinsing the surface completely without pressure.

Dried residue can leave a film on the paving surface that is difficult to remove and requires specialist cleaners.

06

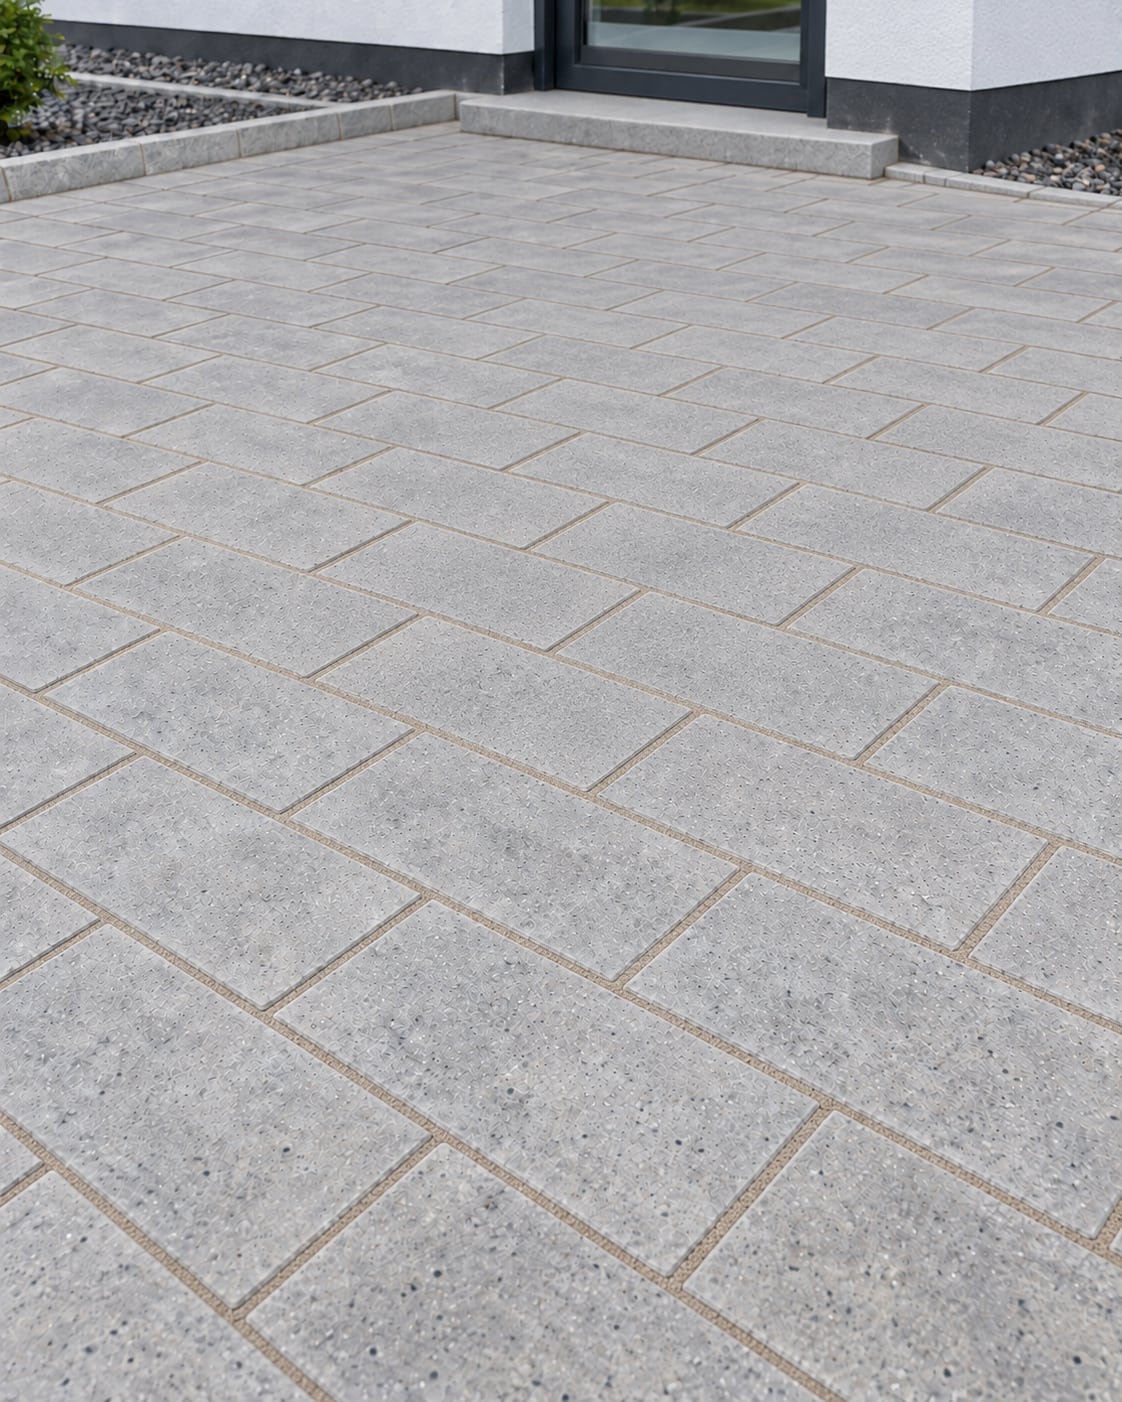
Allow to dry – finished

TERRABOND must dry completely to cure correctly. Depending on the weather, this may take several days.

Rainproof and walkable after 3 hours.

In dry weather, do not cover the surface, so the joints can dry out.

Suitable for vehicle traffic after approximately three days*, depending on weather and temperature.

* Information on compacting slabs with the ROX-TOOLS roller compactor. Readiness for vehicle traffic depends on weather and temperature.

Installation
in pictures.

The complete sequence from cleared joints to the dried surface.

01Prepare clear joints
Paved surface with fully cleared joints before TERRABOND is installed
02Sweep in dry
TERRABOND being swept dry into the clear paving joints
03Compact with protective mat
Paved surface compacted evenly with a plate compactor and fixed protective mat
04Sweep clean
Filled paved surface being swept completely clean
05Water with a soft spray
Paved surface watered evenly with a soft spray
06Finished after drying
Completed jointed paved surface after drying

Practical guidance,
cleaning and repairs.

Information for slabs, subsequent care and correct replenishment of jointing material.

Practical tip

Slabs

Where slabs cannot be mechanically compacted, jointing may be installed in two layers. After the first watering, allow the area to dry completely, top up any settled material and water again.

For large slabs with narrow joints, use a sprayer to target only the joints until they are fully saturated.

Care

Routine cleaning

Once the material has cured completely, it can be cleaned with a broom, leaf blower or water jet.

Care

Pressure washer

Use no more than 80 bar with a fan nozzle, never a rotary nozzle. Keep at least 30 cm from the paving surface.

If material is washed out, it can be repaired after the surface has dried.

Repair

Making good

New TERRABOND used for repairs must be fully watered and activated after preparation, filling and compaction. Simply sweeping in new material is not sufficient.

Project test

Create a test area

If there is no experience with the specific combination of TERRABOND HPF and the paving, we strongly recommend a test area to verify compatibility.

Documents and advice

Check before installation.

The full installation information, technical data sheet and tool guidance are available as downloads. The downloadable documents are currently German originals.

Please contact us if you need further information.